


Introduction
Welcome to the world of herb drying, where gardeners become culinary artists. If you’re a home gardener with a penchant for fresh herbs, you’ve likely ventured into herb drying. But here’s the exciting part we’re about to delve into advanced techniques, tips and in-depth insights that will transform your herb drying game. Our guide is led by Olivia Sage brook a renowned horticulturist with a wealth of knowledge in the art of preserving herbs. With her expertise, we’ll explore the fascinating journey of mastering DIY herb drying. Olivia Sage brook, a name synonymous with horticultural expertise has dedicated her life to the art of herb cultivation and preservation. With over two decades of experience, she’s the perfect guide to unravel the secrets of DIY herb drying.
The Benefits of DIY Herb Drying
Olivia explains the numerous benefits, from extending the shelf life of your herbs to retaining their flavors and aromas. Drying herbs at home offers a plethora of advantages that can elevate your gardening experience and culinary endeavors. First and foremost, it allows you to preserve the freshness and aromatic essence of your homegrown herbs ensuring that their flavors remain intact for an extended period. Moreover, it’s a cost-effective practice, sparing you from the need to purchase expensive store-bought herbs. With DIY herb drying, you gain full control over the customization of herb blends, tailoring them to suit your unique recipes and taste preferences.
Choosing the Right Herbs
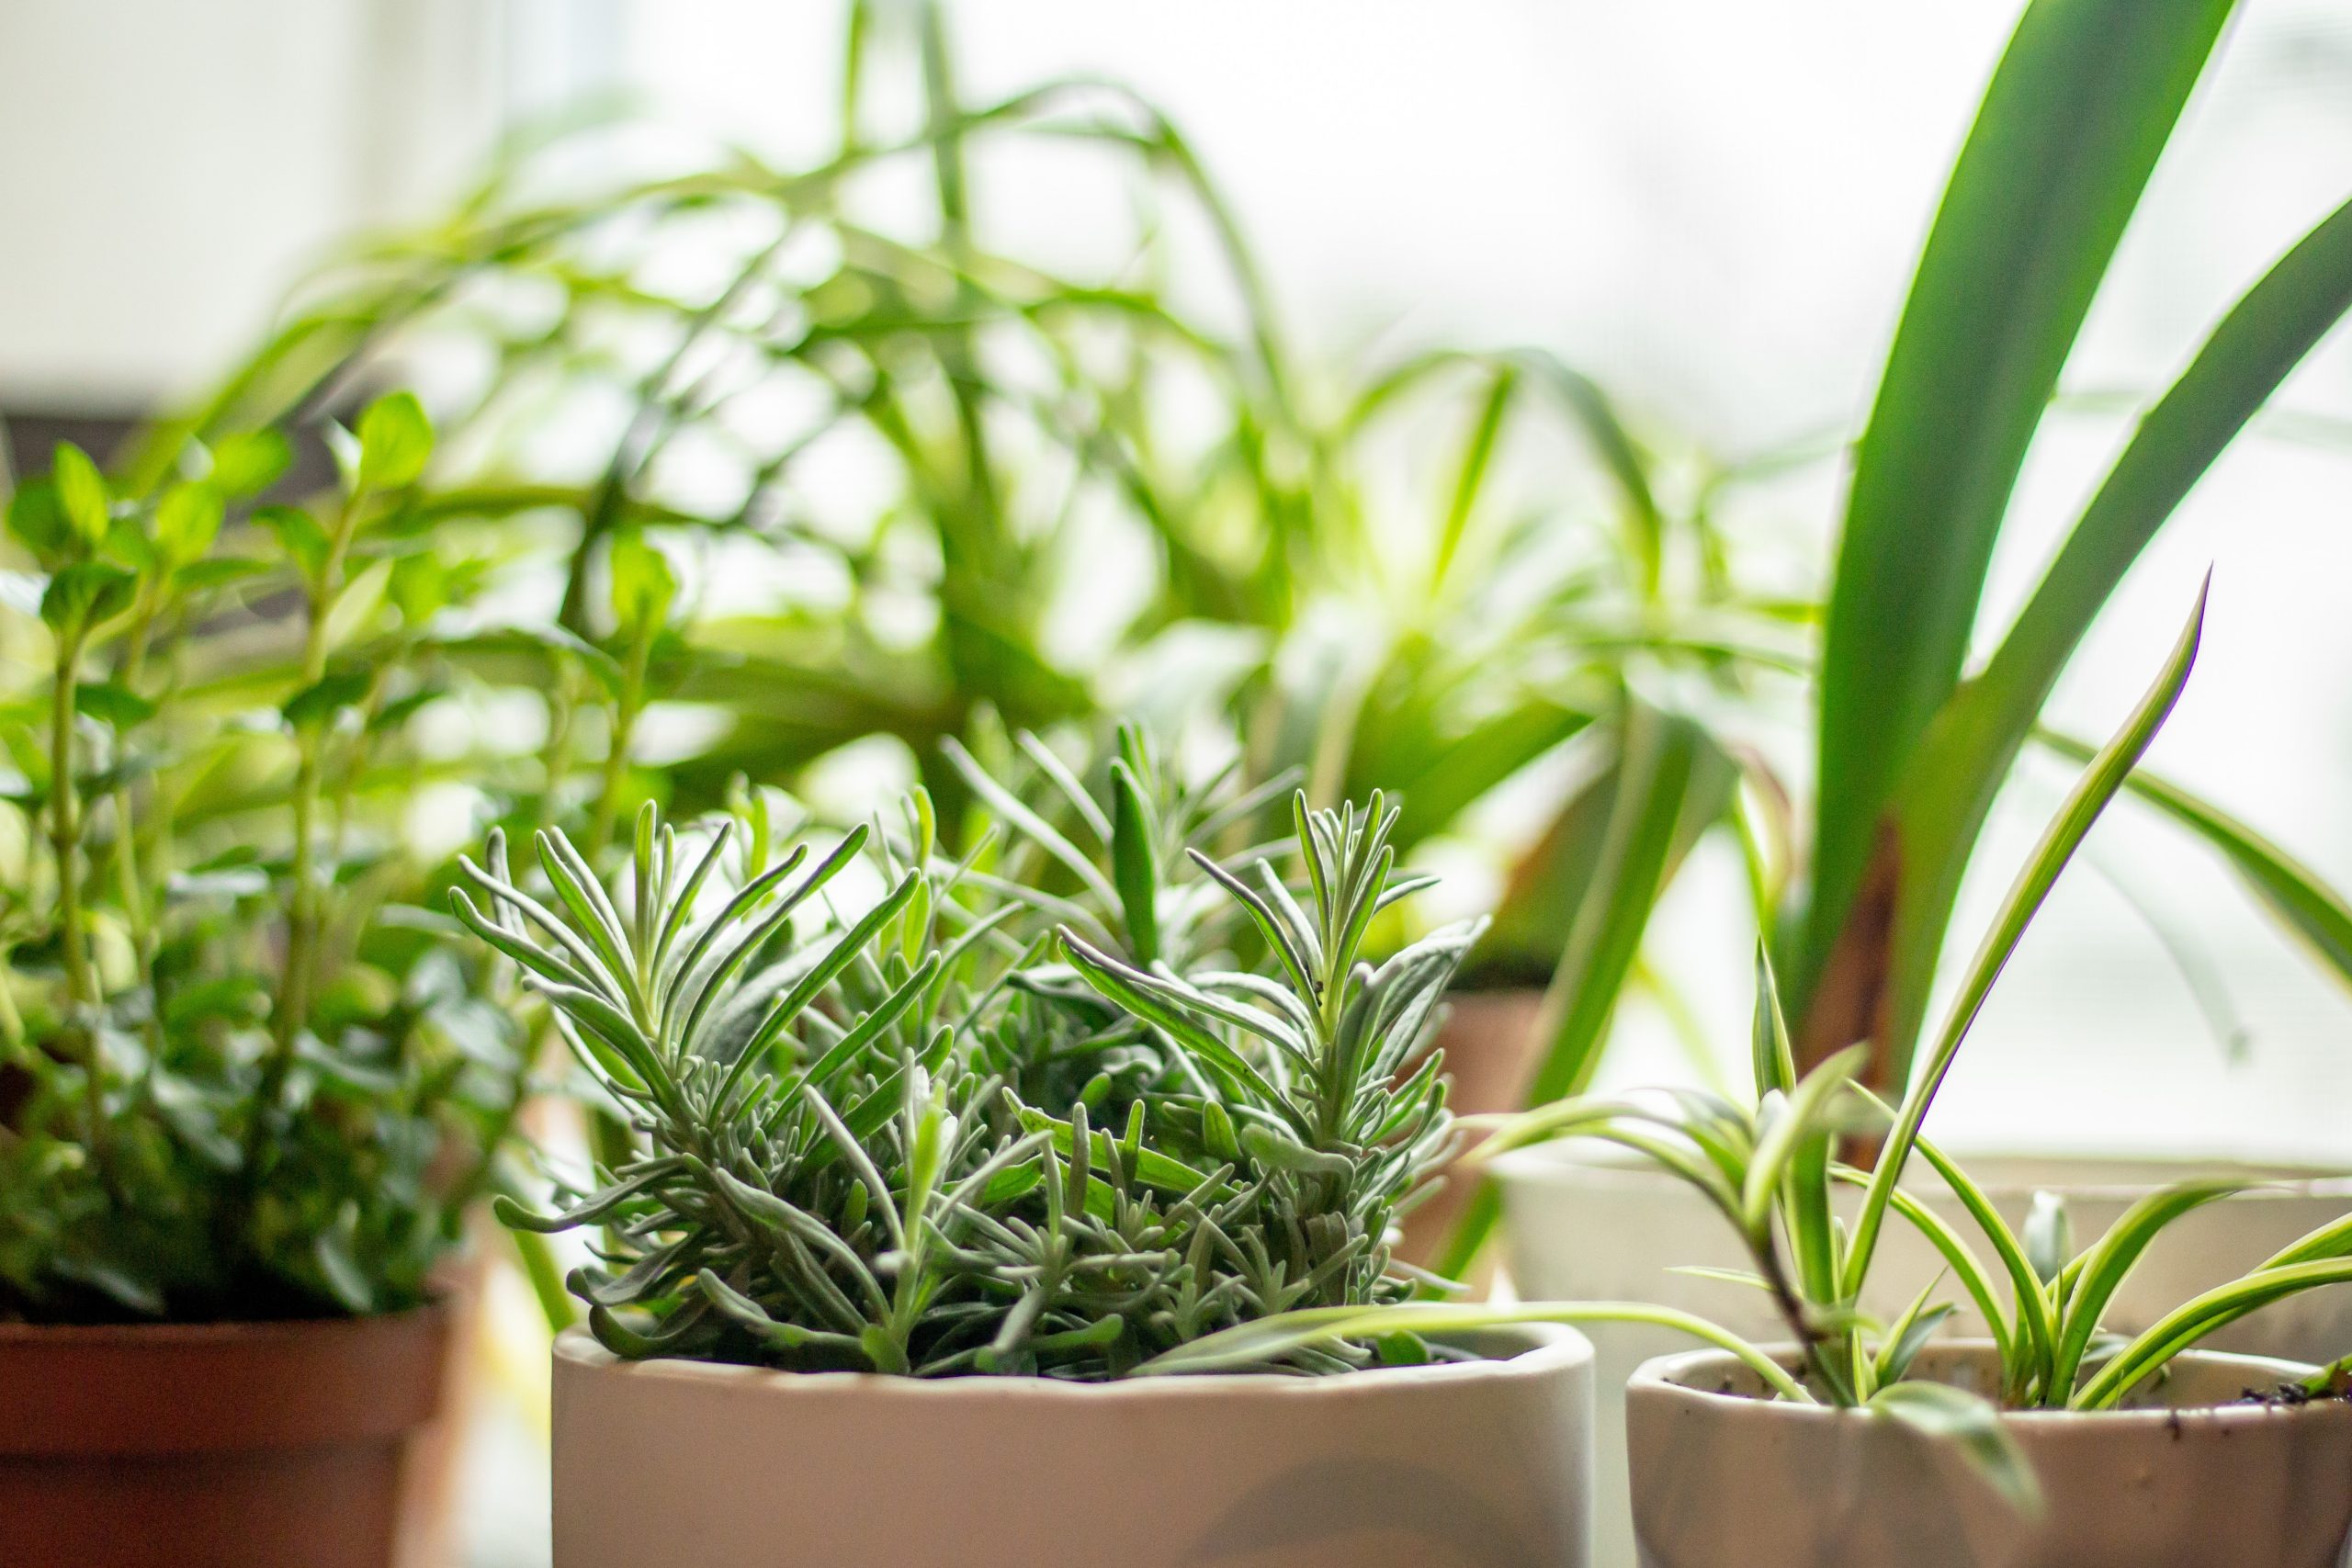
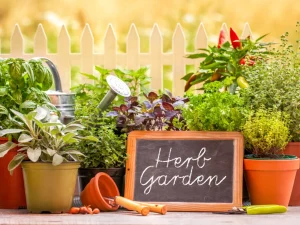
Learn to select the best herbs for drying, from basil to thyme. Olivia shares insights on factors like flavor intensity and moisture content that influence your choices. Drying herbs at home offers a plethora of advantages that can elevate your gardening experience and culinary endeavors. First and foremost, it allows you to preserve the freshness and aromatic essence of your homegrown herbs ensuring that their flavors remain intact for an extended period. Moreover, it’s a cost-effective practice, sparing you from the need to purchase expensive store-bought herbs. With DIY herb drying, you gain full control over the customization of herb blends, tailoring them to suit your unique recipes and taste preferences.
Harvesting Techniques for Optimal Flavor
Harvesting herbs at the right time is crucial. Olivia’s advice on timing and techniques ensures that your dried herbs burst with flavor. Harvesting herbs with precision is a crucial step in the DIY herb drying process, as it directly impacts the flavor and quality of your dried herbs. it’s essential to employ the right harvesting techniques. For leafy herbs like basil and mint, the key is to harvest them just before they start flowering. During this stage, these herbs are at their most flavorful. When harvesting, use sharp pruning shears to snip the stems, and do so in the morning when the essential oils are at their peak concentration. This ensures that you capture the full aromatic potential of your herbs.
Comparative Table: Herb Drying Methods
| Method | Pros | Cons |
|---|---|---|
| Air Drying | Requires minimal equipment | Slower process. |
| Oven Drying | Quick and efficient | Potential flavor loss. |
| Dehydrator | Precise temperature control | Equipment cost, and space needed. |
Herb Storage Tips
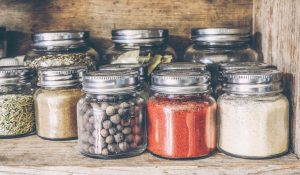
Once your herbs are dried to perfection, Olivia’s storage tips will ensure they stay fresh for months, if not years. Herbs are sensitive to light and heat, which can diminish their flavor and aroma. Store your airtight containers in a cool dark place like a pantry or cupboard. Avoid placing them near heat sources such as stovetops or radiators. Label your containers with the name of the herb and the date it was dried. This simple step helps you easily identify your herbs and monitor their freshness. You can use adhesive labels or write directly on the containers with a marker.
Creative Uses for Dried Herbs
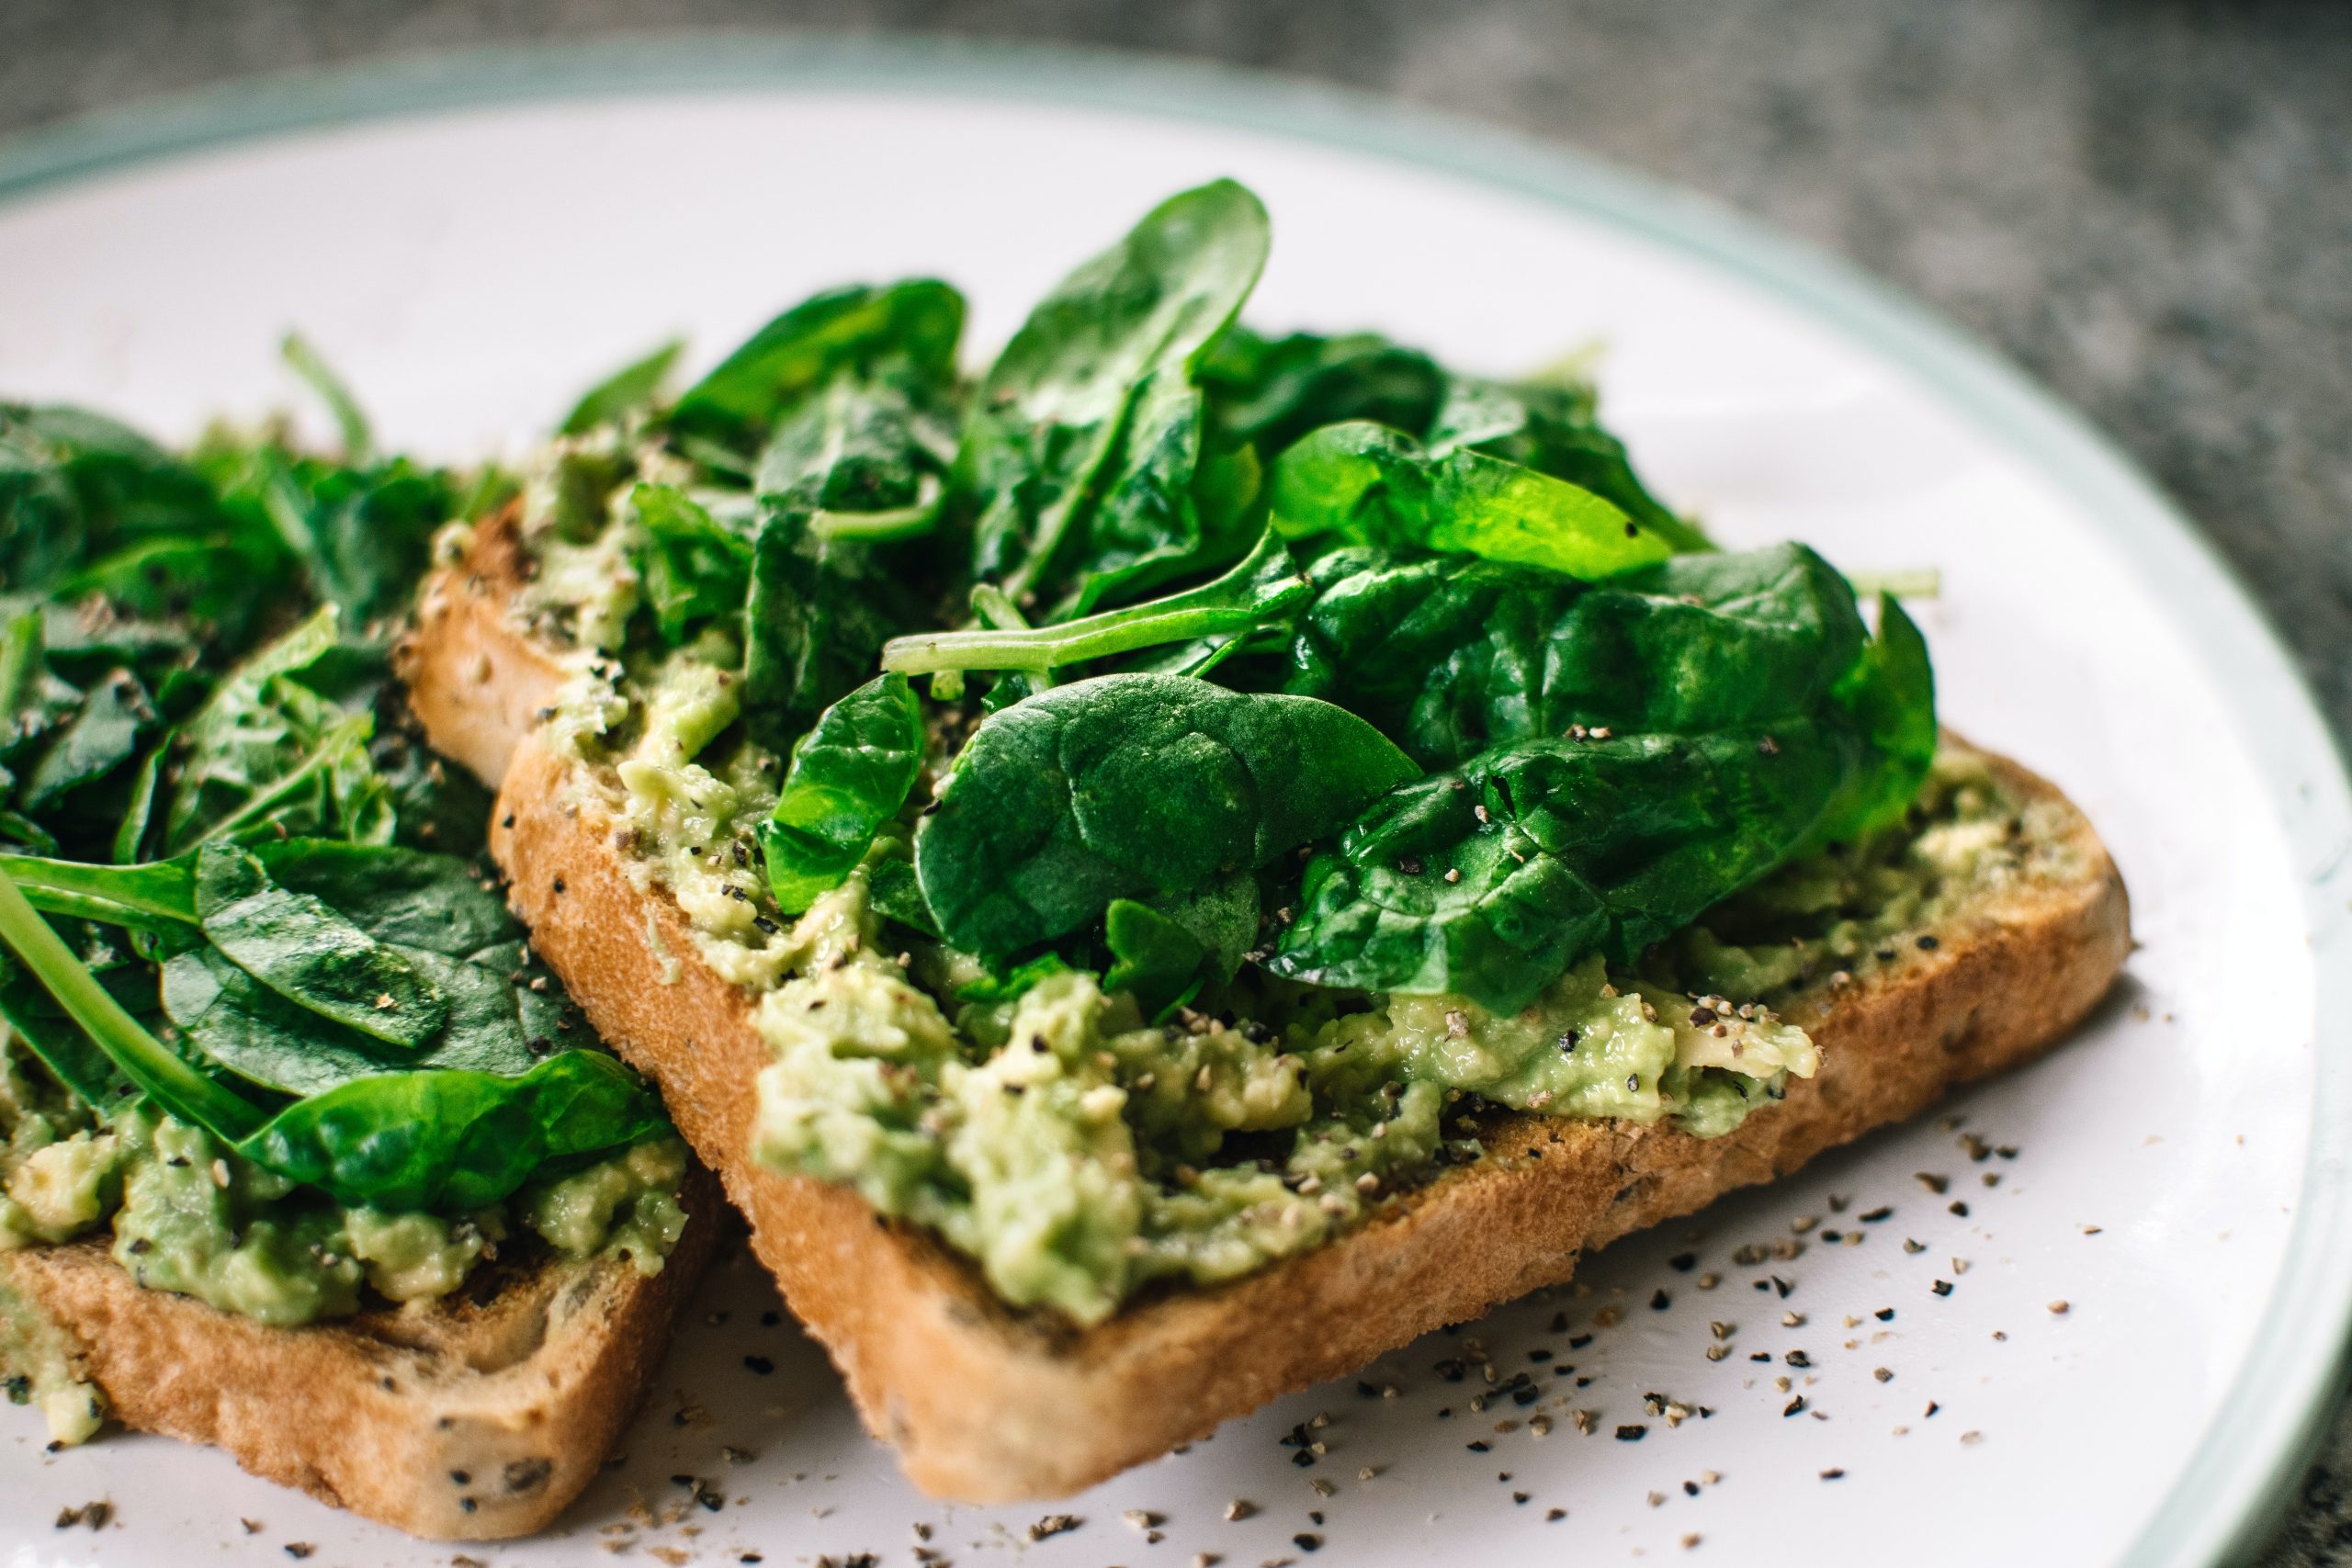
Discover innovative ways to use your dried herbs in the kitchen, from seasoning blends to herbal teas. Olivia’s culinary expertise shines through in these creative ideas Create your own gourmet oils and vinegars by infusing them with dried herbs. Simply place your favorite herbs in a clean, dry bottle and fill it with your chosen oil or vinegar. Let it sit for a few weeks, and you’ll have flavorful, aromatic infusions to use in dressings, marinades, and cooking.
Conclusion:
With Olivia Sage brook as your guide, you’re now equipped to master the art of DIY herb drying. Embrace the benefits, choose your herbs wisely, and experiment with different drying methods. Your culinary creations will thank you for the vibrant, flavorful herbs you’ve preserved. In conclusion, this comprehensive guide has taken you on a journey through the world of DIY herb drying. Olivia Sage brook’s expertise has illuminated the path to preserving herbs like a pro. Whether you’re a seasoned gardener or a curious enthusiast, these advanced techniques, tips, and insights are your key to herb drying mastery. Start your herb drying journey today and elevate your culinary adventures to new heights.