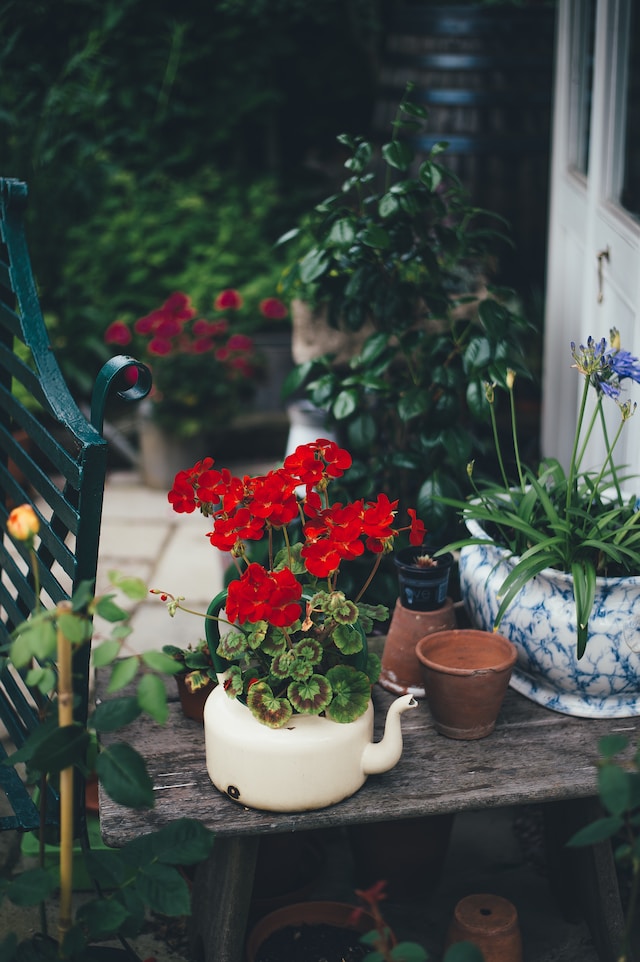


Transplanting and repotting are essential tasks for any plant owner. Whether you’re a seasoned gardener or a beginner, knowing when and how to transplant or repot your plants can make all the difference in their growth and health. In this article, we’ll cover the basics of transplanting and repotting, including when to do it, how to do it properly, and what to expect after the process.
When to Transplant or Repot
The first question to ask yourself is whether your plant needs to be transplanted or repotted. Transplanting involves moving a plant from one location to another, while repotting involves moving a plant from one container to another. Both tasks are necessary when a plant outgrows its current space or when the soil becomes depleted of nutrients.
Here are some signs that your plant needs to be transplanted or repotted:
– The plant is root-bound, meaning the roots have grown too large for the container.
– The soil is compacted and doesn’t drain well.
– The plant is showing signs of stress, such as yellowing leaves or stunted growth.
– The plant has outgrown its current space and needs more room to grow.
If you notice any of these signs, it’s time to consider transplanting or repotting your plant.
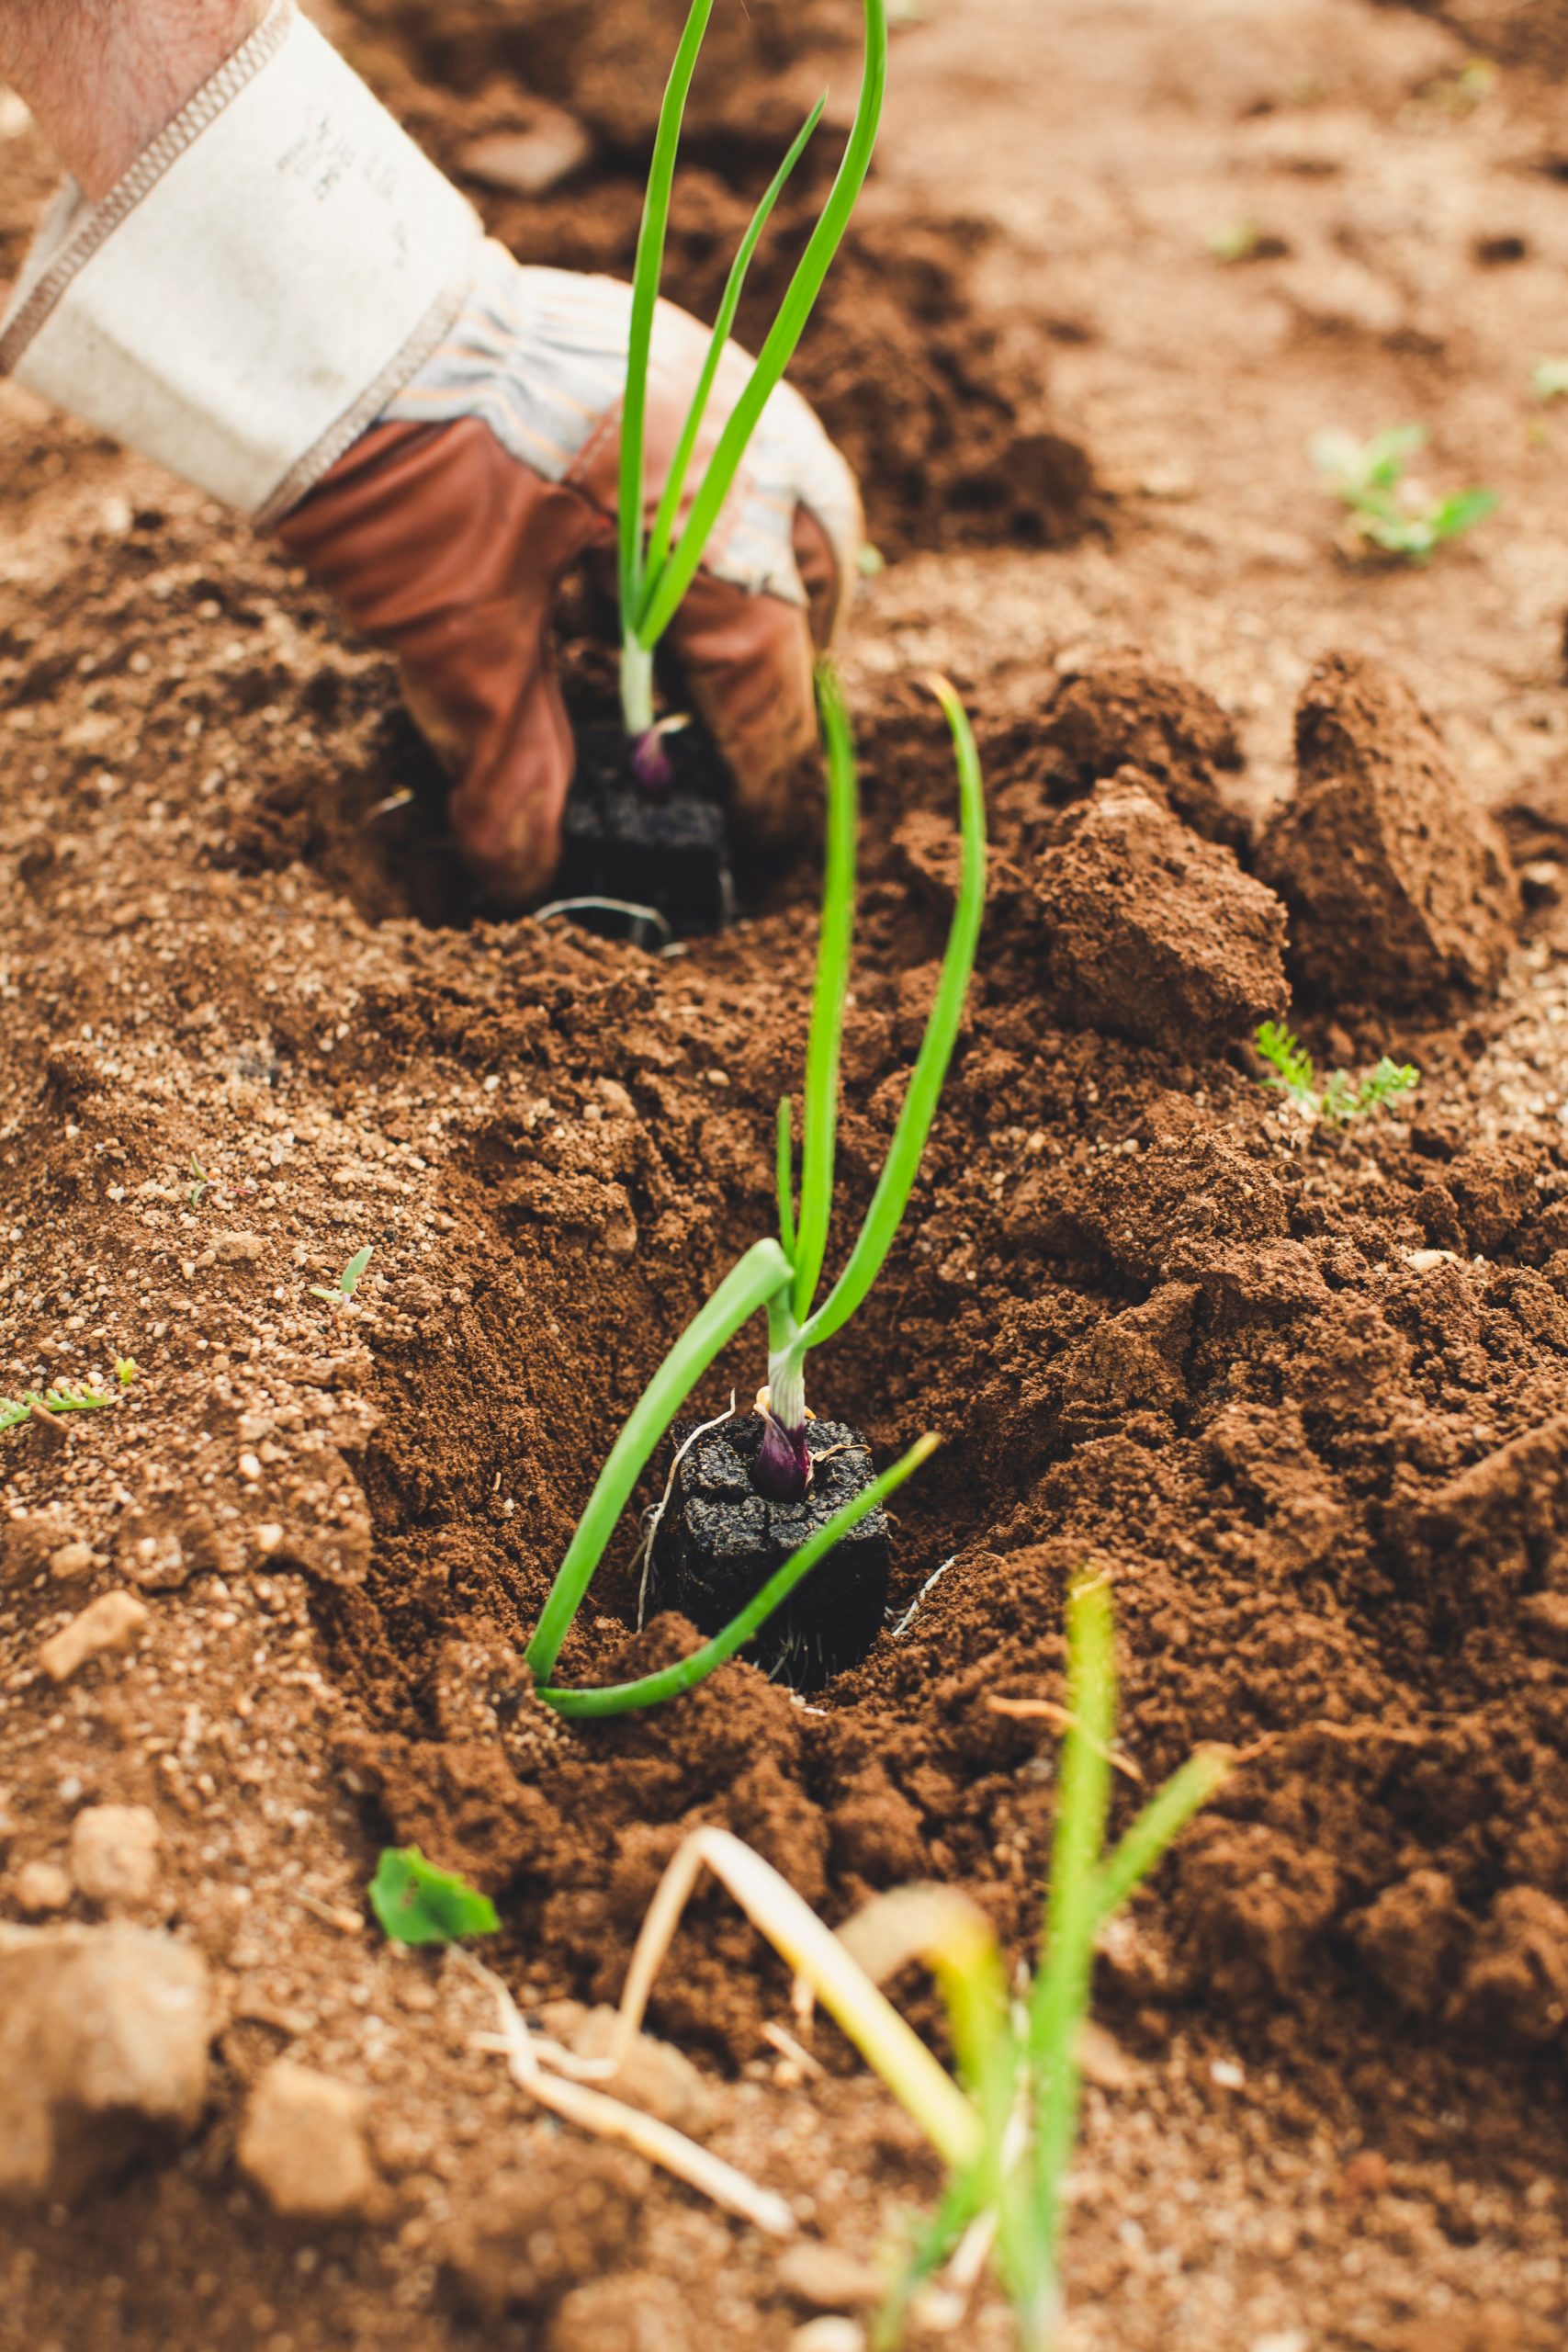
How to Transplant or Repot
Transplanting and repotting can be stressful for plants, so it’s important to do it properly to minimize the shock. Here are the steps to follow:
1. Choose the right container: When repotting, choose a container that is one size larger than the current one. For transplanting, choose a location that has the right amount of sunlight and soil conditions for your plant.
2. Prepare the new container: Fill the new container with fresh potting soil, leaving enough room for the plant’s roots.
3. Water the plant: Water the plant thoroughly a few hours before transplanting or repotting to help the soil hold together.
4. Remove the plant: Gently remove the plant from its current container, being careful not to damage the roots.
5. Loosen the roots: Use your fingers or a tool to gently loosen the roots, making it easier for them to grow into the new soil.
6. Place the plant in the new container: Place the plant in the new container, making sure it’s at the same depth as before.
7. Fill in with soil: Fill in the gaps around the plant with fresh potting soil, pressing it down gently.
8. Water the plant: Water the plant thoroughly, making sure the soil is evenly moist.
What to Expect After Transplanting or Repotting
After transplanting or repotting, your plant may go through a period of shock as it adjusts to its new environment. Here are some things to expect:
– Wilting: Your plant may wilt for a few days after transplanting or repotting. This is normal and should resolve on its own as the plant adjusts.
– Slow growth: Your plant may grow more slowly for a few weeks as it adjusts to its new environment.
– Increased watering: Your plant may need more water than usual after transplanting or repotting, as the new soil may dry out more quickly.
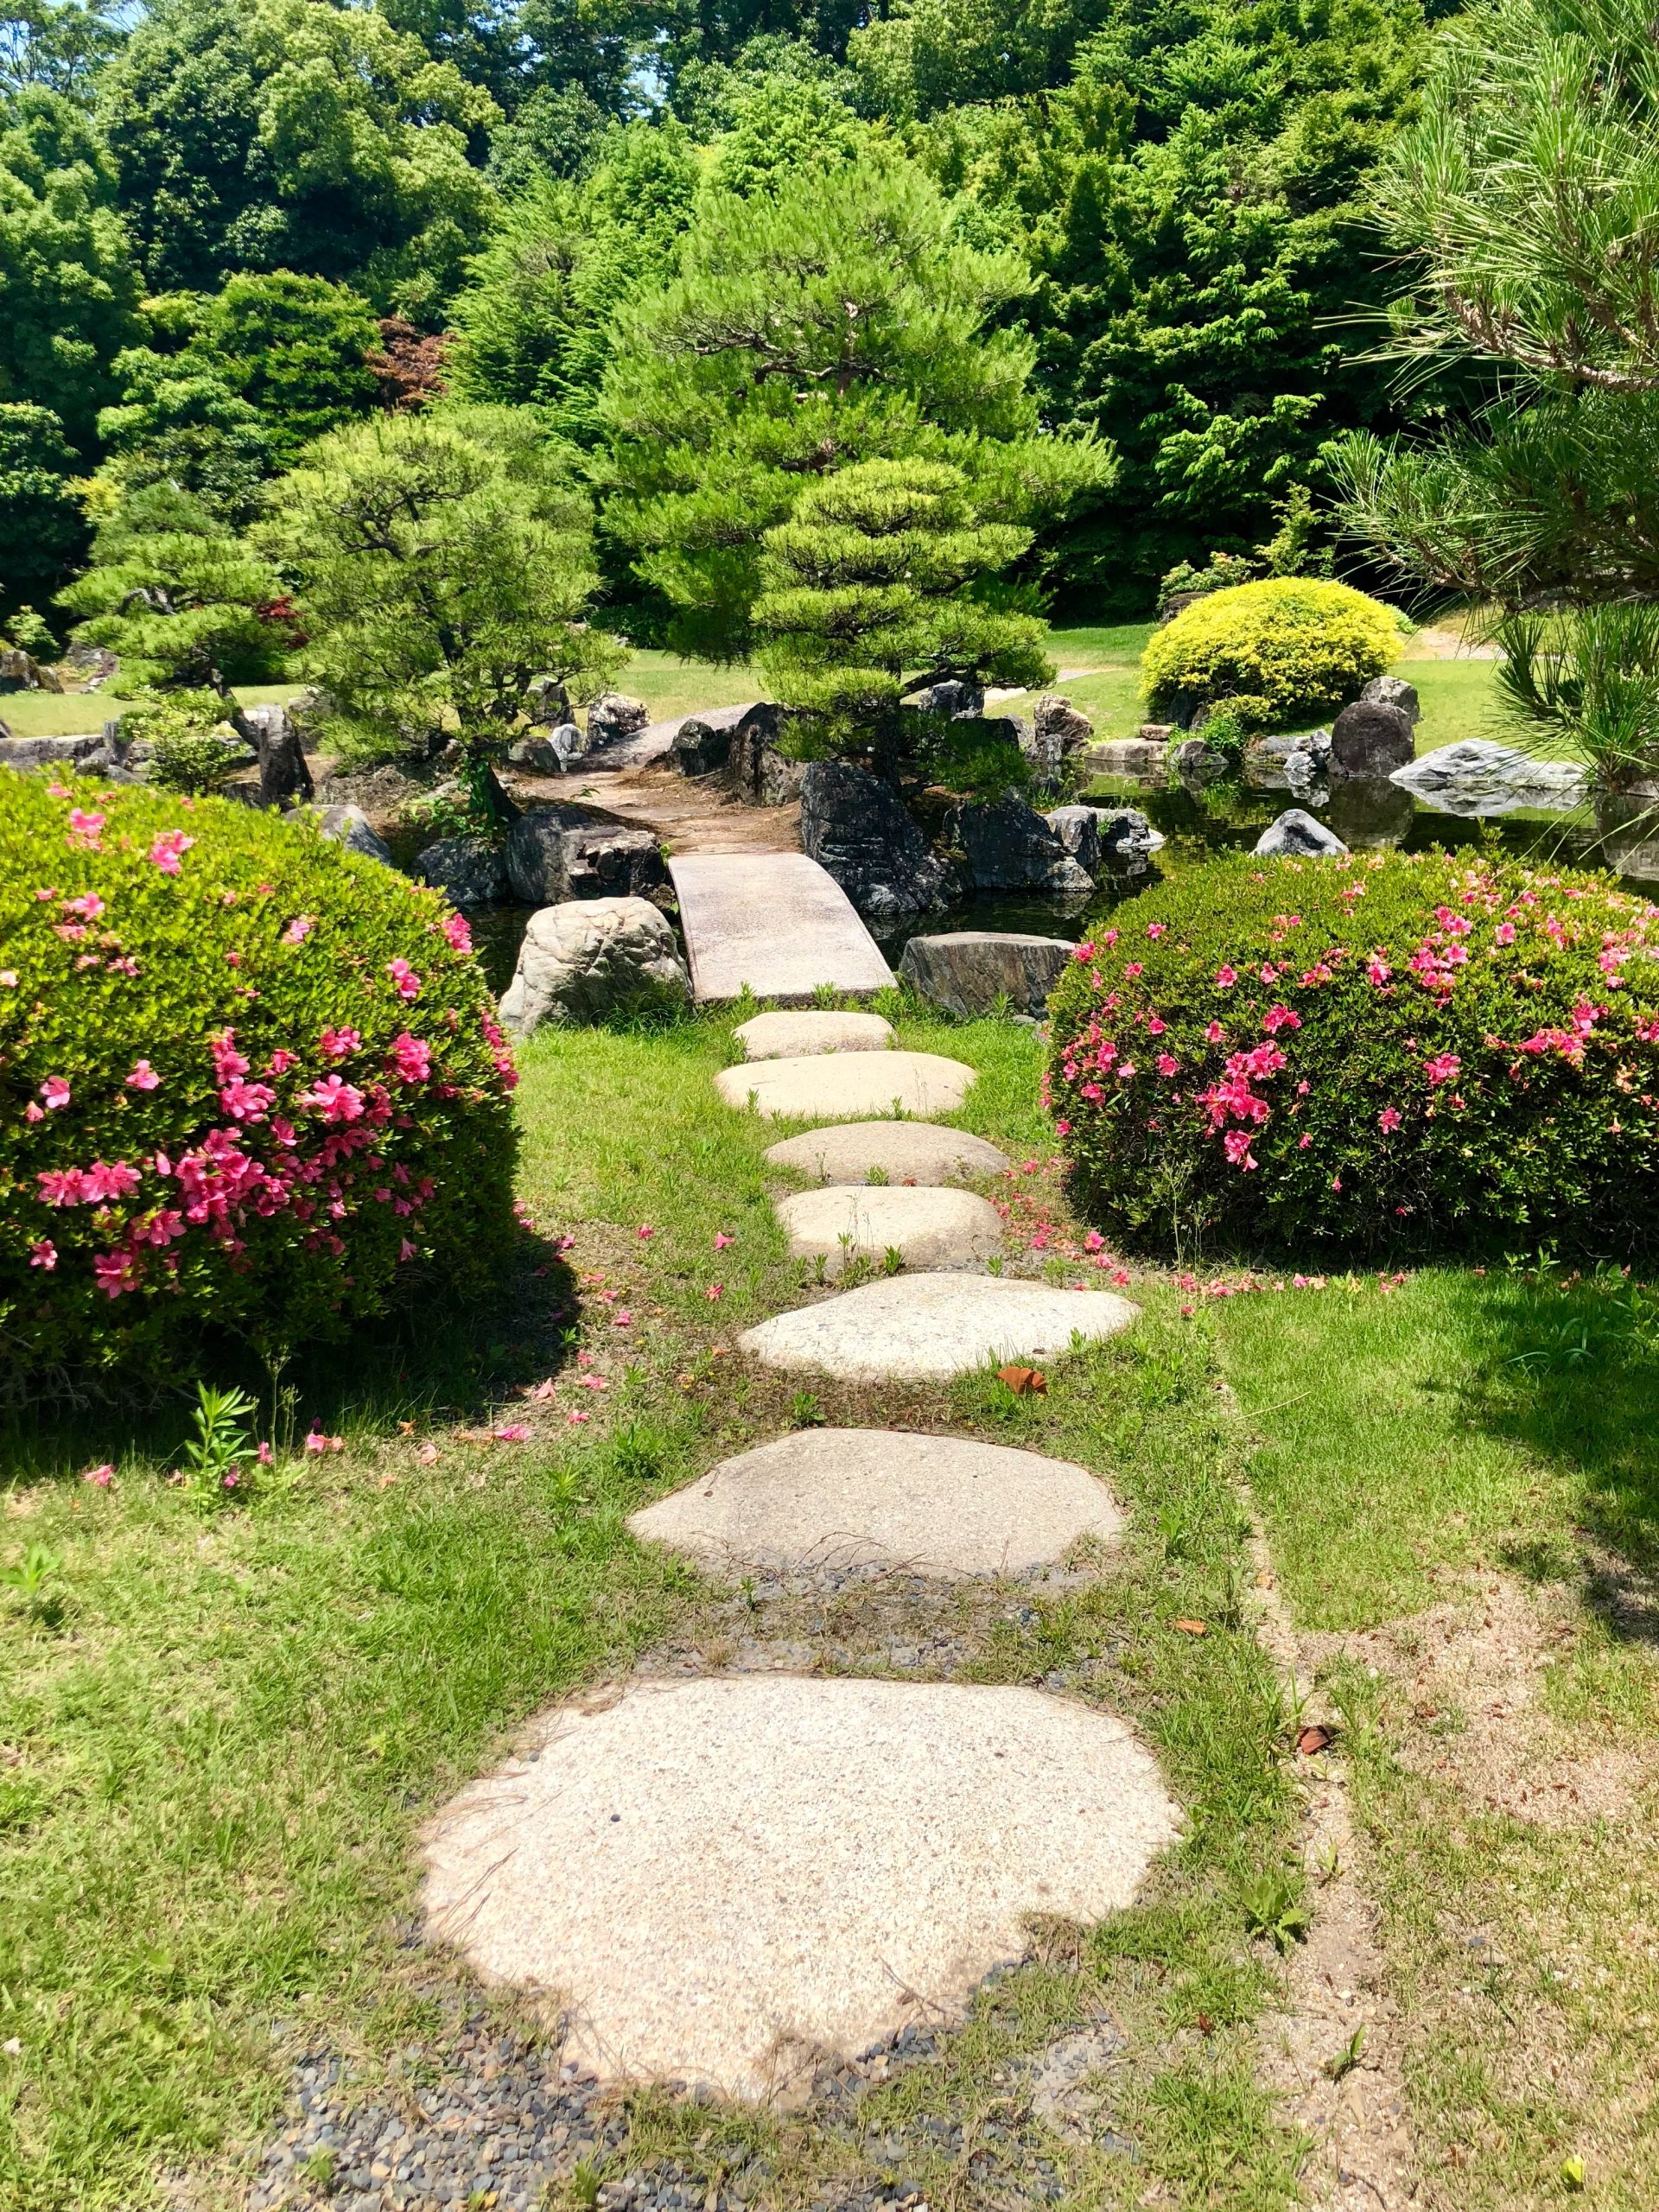
With proper care and attention, your plant should recover from transplanting or repotting and continue to thrive in its new environment.
Conclusion
Transplanting and repotting are essential tasks for any plant owner. Knowing when and how to do it properly can make all the difference in your plant’s growth and health. Remember to choose the right container, prepare the new container, water the plant, loosen the roots, place the plant in the new container, fill in with soil, and water the plant again. With these steps, your plant should recover from transplanting or repotting and continue to thrive.