Unlock the Power of Virtual Disk Images: Importing VDI Files into VirtualBox
Virtualization has transformed the way we interact with operating systems. Whether you’re a developer looking to test code on different platforms or simply an enthusiast eager to explore new OSes, VirtualBox provides a powerful playground. However, setting up virtual machines and installing operating systems repeatedly can be a tedious task. Fortunately, there’s a better way – Virtual Disk Images (VDIs). In this guide, we’ll show you how to import VDI files into VirtualBox, unlocking a world of convenience and efficiency.
What Is a VirtualBox VDI File?
Virtual Disk Images, or VDIs, are integral to VirtualBox, a renowned virtualization hypervisor. VDIs are essentially virtual hard disk images that you can effortlessly import or add to your existing virtual machine. Remember the step during virtual machine configuration where you had to create a hard disk image and allocate storage? That’s where you set up a Virtual Disk Image.
VDIs offer portability, enabling you to run an operating system without enduring the laborious installation process. It’s like having a pre-configured virtual machine at your fingertips.
Downloading VDI Files for VirtualBox
Now that you understand the allure of VDIs, the next step is acquiring them. Several sources offer VDI files, but one stands out – OSBoxes. OSBoxes boasts an extensive catalog of pre-built VDIs, making it your go-to destination.
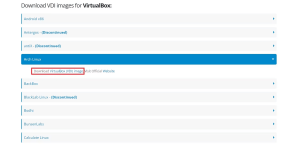
- Visit osboxes.com.
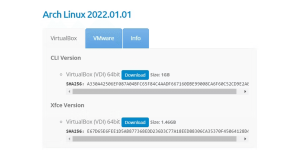
Image by https://www.makeuseof.com/ - Navigate to VM Images > VirtualBox Images from the top-right menu.
- Browse through the selection of VDIs available for download.
- Click on a VDI entry, then select “VirtualBox (VDI) Image.”
- Choose your preferred download option from the list.
An archive file (usually in 7z format) will commence downloading. Once the download is complete, use a tool like 7-Zip to extract the VDI file from the archive.
Importing a VDI File Into VirtualBox
With your VDI file ready, it’s time to import it into VirtualBox seamlessly. Follow these steps:
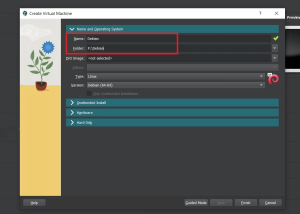
- Launch VirtualBox and click “New.”
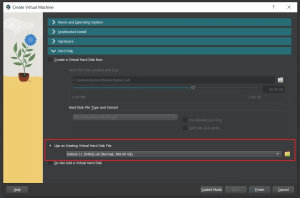
Image by https://www.makeuseof.com/ - Provide a name for your virtual machine and select the folder for storing VM files.
- In the Hard Disk section, check “Use an existing Virtual Hard Disk File.”
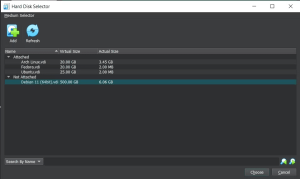
Image by https://www.makeuseof.com/ - Click the folder icon to open the Hard Disk Selector and choose the downloaded VDI file.
- Configure hardware settings as desired (memory, CPU cores, etc.).
- Click “Finish” to proceed.
For further customization, explore settings such as shared clipboard, display, audio, and USB devices by selecting the virtual machine in the left pane and clicking “Settings.” Once you’re ready, hit “Start” or double-click the virtual machine to boot the operating system.
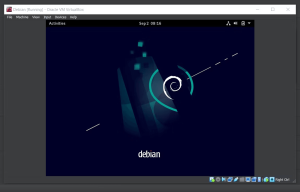
As the machine boots up, you’ll find yourself on the desktop of the installed OS. If prompted for a password, enter the displayed username, typically “osboxes.org” for VDIs from OSBoxes. Most VDIs use the same username and password, but you can always verify this information on the source website.
Try New OSes Without Installing With VirtualBox
Virtual Disk Images are a game-changer, eliminating the need for repetitive OS installations. Whether you’re a developer streamlining code testing or an eager explorer of different operating systems, VDIs offer an efficient solution. Virtualization is a versatile tool, and VDIs open up a world of possibilities for all users.
So, why not embrace the convenience of Virtual Disk Images and elevate your VirtualBox experience? Try new OSes hassle-free and make the most of this powerful virtualization tool.
Are you ready to explore new OSes without the installation headache? Discover the world of Virtual Disk Images (VDIs) and turbocharge your VirtualBox experience today!


