Are you looking to enhance your manicure with unique and eye-catching designs? Do you want to try something new without spending a fortune at the nail salon? Look no further than DIY nail stickers! With just a few simple materials and a dash of creativity, you can create custom nail stickers that will add flair to your fingertips. In this guide, we’ll show you how to make your own DIY nail stickers and elevate your nail game to the next level.
Materials Needed:
– Clear nail polish or top coat
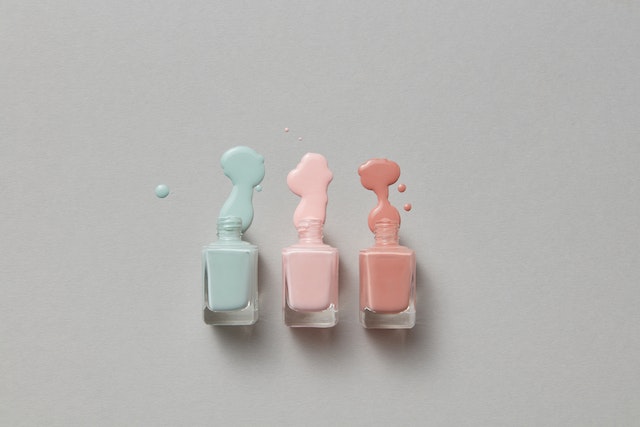
– Nail polish in various colors
– Nail art brushes or toothpicks
– Nail stickers or adhesive paper
– Scissors
– Tweezers
– Nail file
– Nail polish remover (for cleanup)
Step 1: Prepare Your Workspace
Find a well-lit area with a flat surface to work on. Lay down a clean towel or newspaper to protect the surface from any spills or stains.
Step 2: Create Your Nail Sticker Design
Using a nail art brush or a toothpick, dip it into your desired nail polish color and carefully create your design on a piece of adhesive paper or a nail sticker. Let the design dry completely before moving on to the next step.
Step 3: Apply a Base Coat
Apply a clear coat of nail polish or top coat onto your clean, prepped nails. This will create a smooth surface for your nail stickers to adhere to.
Step 4: Cut Out Your Nail Stickers
Once your design is dry, use a pair of scissors to cut out the individual nail stickers. Trim them as close to the design as possible for a clean and precise look.
Step 5: Prepare Your Nails
Apply a thin layer of clear nail polish or top coat onto your nails as a base for the nail stickers. This will help them adhere better and last longer.
Step 6: Apply the Nail Stickers
Using a pair of tweezers, carefully pick up the nail sticker and place it onto your nail. Gently press down to ensure it adheres well. Repeat this process for all nails, applying different designs or colors as desired.
Step 7: Seal and Protect
Apply a final layer of clear nail polish or top coat over the entire nail, including the nail sticker. This will seal the design and provide extra protection against chipping and peeling.
Step 8: Cleanup
Use a small brush dipped in nail polish remover to clean up any excess polish around your nails and cuticles. This will give your manicure a clean and professional finish.
Step 9: Enjoy Your DIY Nail Sticker Manicure
Allow your nails to dry completely before touching or using your hands. Once dry, you can proudly show off your DIY nail sticker manicure to the world!
DIY nail stickers offer endless possibilities for creativity and personalization. You can experiment with different colors, designs, and shapes to match your style and mood. From geometric patterns to floral motifs, the choice is yours!
So, why not give DIY nail stickers a try? They are a fun and affordable way to add some flair to your fingertips without breaking the bank. Get ready to express your individuality and create stunning nail art right at home!


