

Are you tired of fighting unruly hair every morning? Do you wish for smooth, sleek locks without spending a fortune at the salon? Fear not! Transforming frizzy hair into fabulous can be achieved with a DIY blowout. By following simple steps and using the right products and tools, your hair can look like it was styled by a professional. In this blog post, we’ll share tips and tricks on how to tame unruly hair with ease – say goodbye to bad hair days forever!
Supplies Needed for the Perfect Blowout
If you’re looking to achieve a salon-worthy blowout at home, you’ll need to start with the right supplies. Here’s a list of everything you’ll need to get started:
-A good quality hair dryer. Look for one with at least 1875 watts of power.
-A round brush. This will help to smooth out your hair as you dry it.
-A leave-in conditioner. This will help to protect your hair from the heat of the hair dryer.
-Hairspray. This will help to keep your style in place all day long.
With these supplies in hand, you’re ready to start blow drying your way to fabulousness!
How toPrep Your Hair for a Blowout
If you’re looking to achieve a salon-worthy blowout at home, there are a few things you can do to prep your hair beforehand. First, make sure your hair is clean and free of any product build-up. Towel-dry your hair until it’s only slightly damp, then add a heat protectant serum or cream throughout your strands.
Divide your hair into sections and begin blow drying each section using a round brush. For extra volume, lift the roots of your hair as you dry. Once each section is dry, use a flat iron to smooth out any remaining frizziness. Finish with a light-hold hairspray to keep your blowout in place all day long!
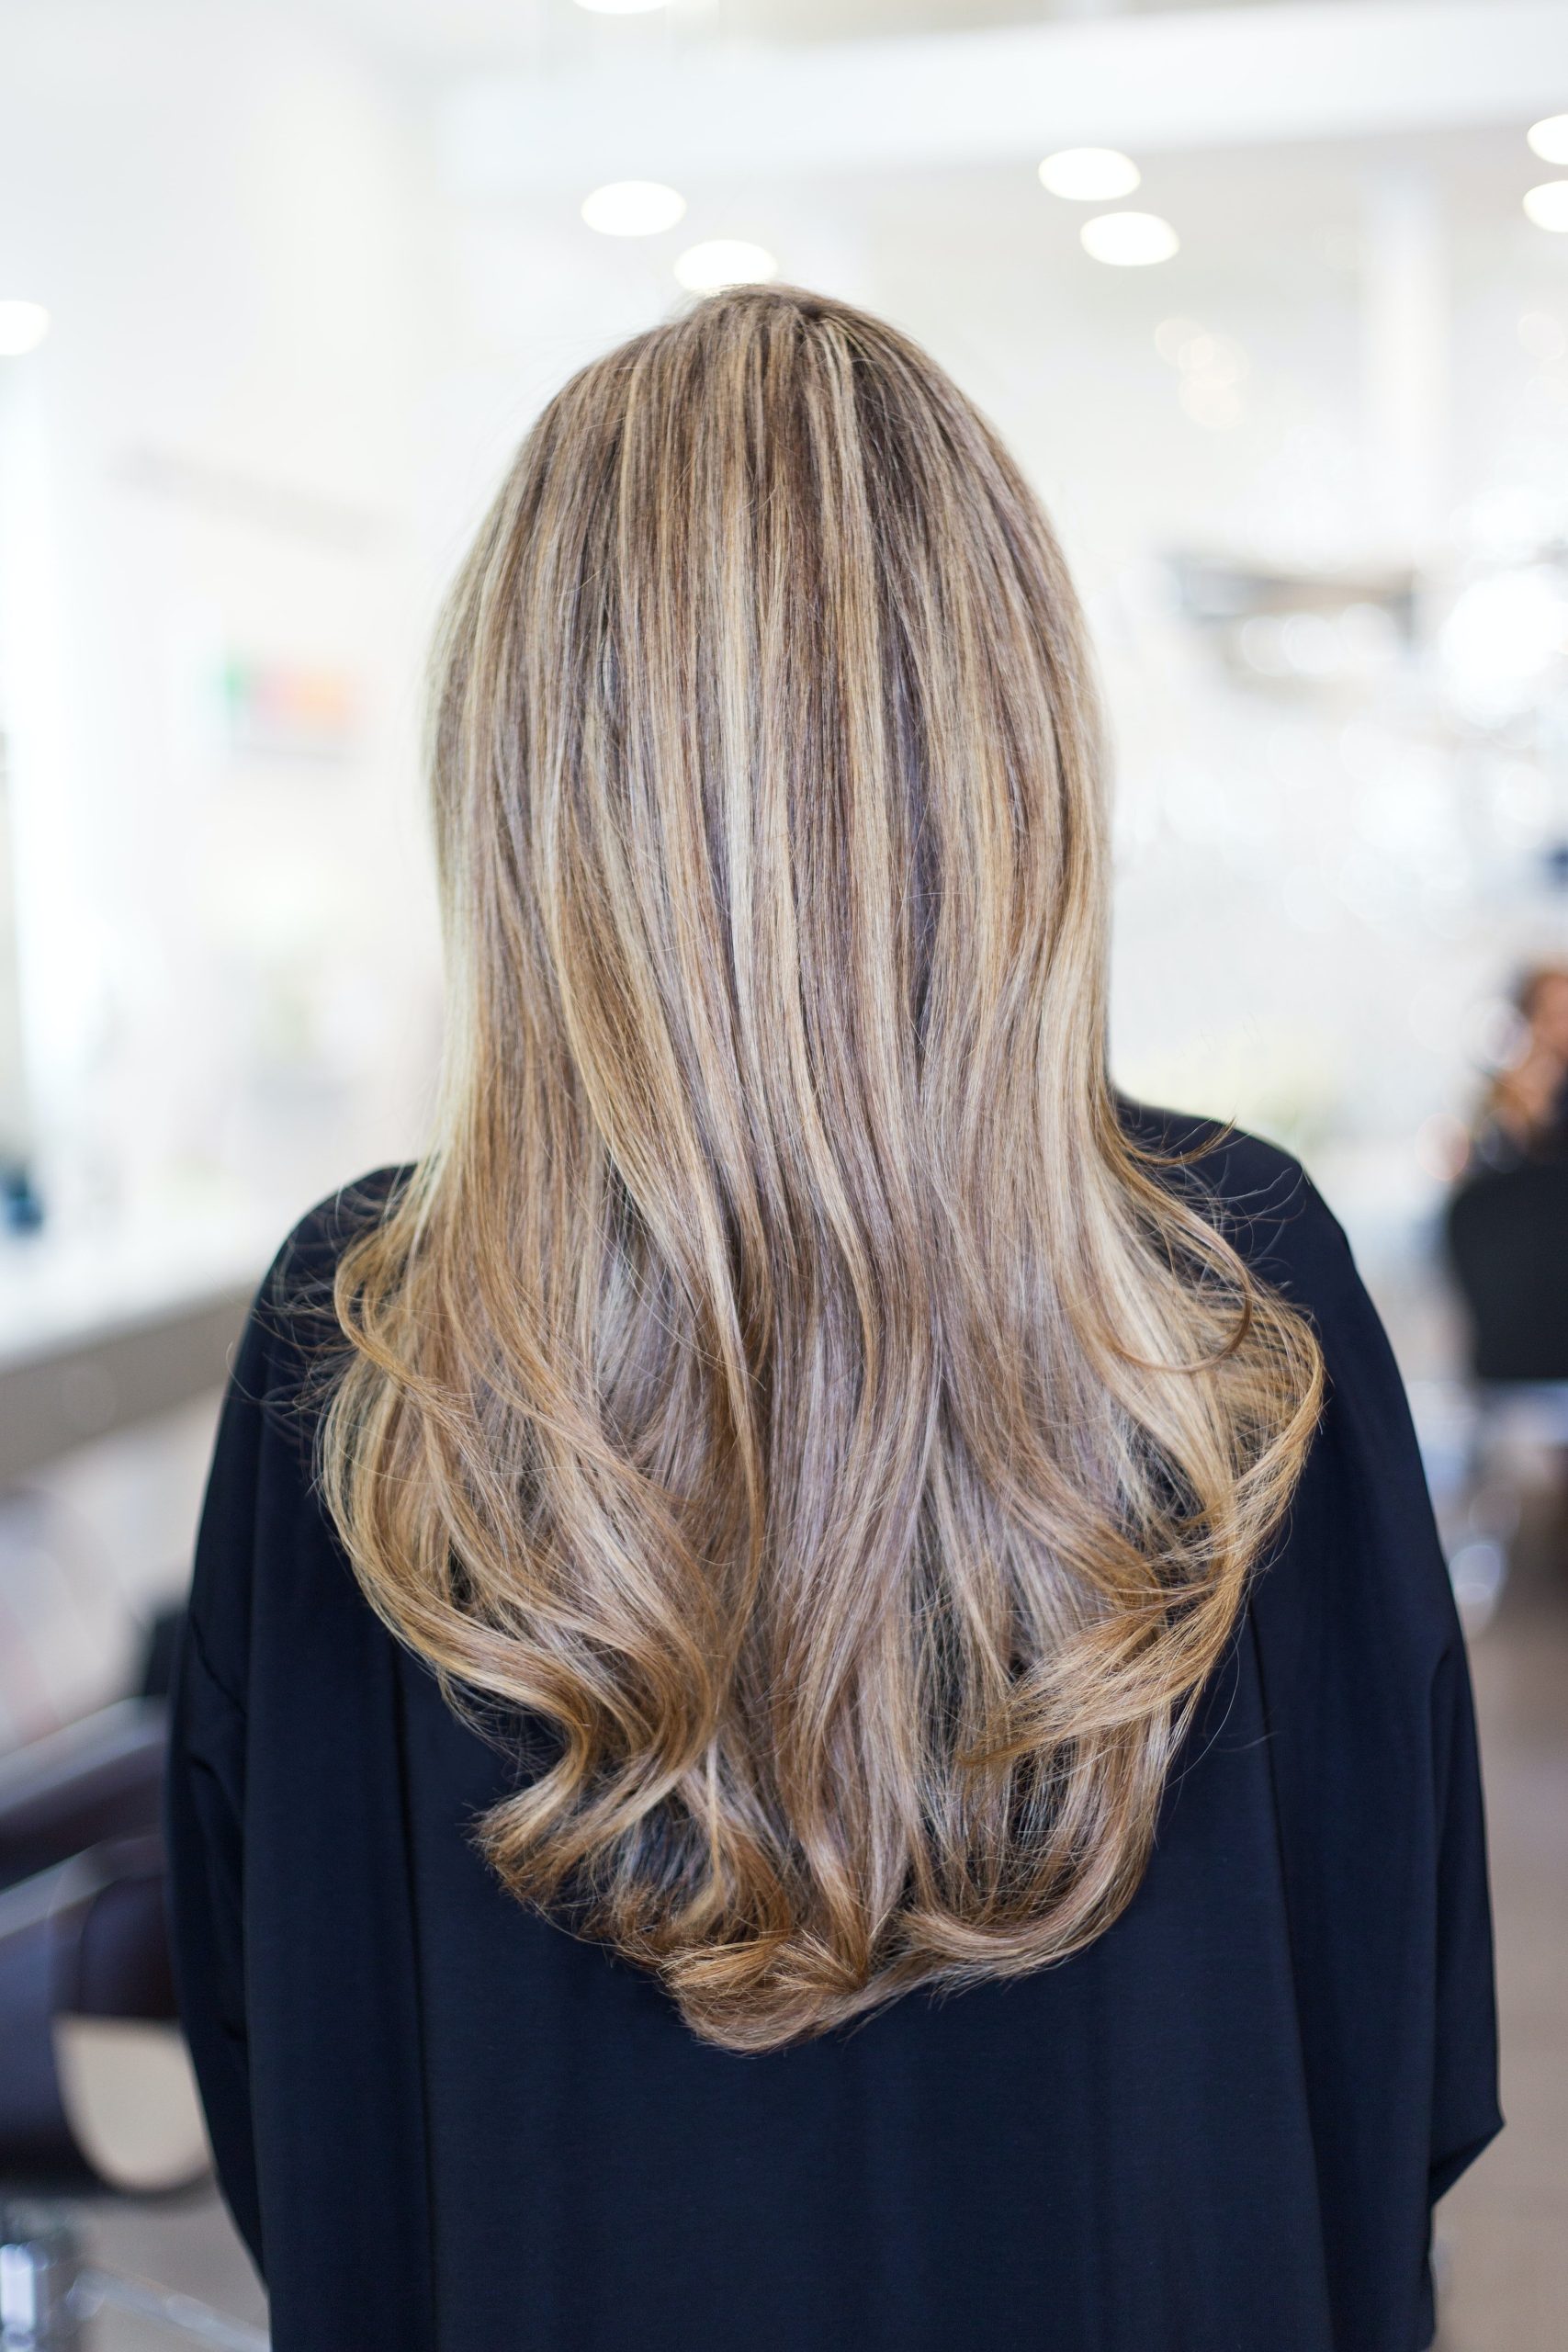
The Blowout Process
First, you’ll want to start with clean, dry hair. If your hair is particularly dirty or oily, you may want to shampoo it first. Once your hair is clean and dry, you’ll need to section it off. Start by dividing the front half of your hair from the back half. Then, divide the back half into two sections (left and right). You should now have four sections of hair.
Next, you’ll need to choose a brush and a blow-dryer. For best results, use a round brush with boar bristles. Boar bristles help to distribute your hair’s natural oils evenly throughout your strands, which will help to protect your hair from heat damage. When choosing a blow-dryer, look for one that has multiple heat settings and a cool shot button.
Now that you have everything you need, it’s time to start blow-drying! Begin by working on one section at a time. Starting at the roots, use your brush to lift the section of hair up and away from your head. As you do this, aim the blow-dryer down toward the ends of your hair. Be sure to keep the blow-dryer moving so that it doesn’t get too hot in one spot. Once each section is completely dry, move on to the next one until all of your hair is dry.
Once your hair is dry, you can style it however you like! If you’re going for
How to Maintain Your Blowout
It’s not enough to just have a good blowout–you also have to know how to maintain it. Here are some tips:
– Sleep on a silk pillowcase: This will help keep your hair smooth and prevent frizz.
– Touch up your roots: If your roots start to show, use a dry shampoo or volumizing spray to touch them up.
– Don’t overdo it on the products: Too much product can weigh down your hair and make it greasy. Stick to using just a few pumps of product, and be sure to evenly distribute it through your hair.
Alternatives to the DIY Blowout
If you don’t have the time or patience to do a DIY blowout at home, there are plenty of alternative styles that can achieve the same results. Here are a few of our favorite alternatives to the DIY blowout:
1. The Topknot: This style is perfect for those days when you just can’t be bothered with your hair. It’s quick, easy and looks great with any outfit. Just gather your hair into a high ponytail and secure with a elastic. Then, twist your hair up into a bun and secure with bobby pins. Voila!
2. The Sleek Ponytail: This is another style that is perfect for busy days or when you just don’t have time to deal with your hair. It’s sleek, chic and can be dressed up or down depending on the occasion. To achieve this look, start by applying some smoothing serum to your hair to tame any flyaways. Then, gather your hair into a low ponytail at the nape of your neck and secure with an elastic. Use a brush to smooth down the sides of your head and create a sleek finish. Finish off by wrapping a small section of hair around the elastic to hide it and secure with a bobby pin.
3. The Messy Bun: This style is perfect for those days when you just want to throw your hair up and forget about it. It’s casual, effortless and can be worn day or night. To