


Introduction
Do you dream of stunning nails like those worn by your favorite celebrities on the red carpet? With the right tools, techniques, and a little practice, you can create salon-worthy manicures at home. Whether you love bold colors, intricate designs, or elegant simplicity, these celebrity inspired nails are within your reach. In this article, we will share insider nail art tips, from prepping your nails to applying the final glossy topcoat. Follow these expert steps to master on-trend styles and keep your nails looking flawless for weeks.
Gather the Right Tools
To create professional-looking nails, invest in quality supplies. Start with a sturdy nail file and buffer to shape and smooth your nail edges. A good manicure kit should include cuticle pusher, nipper, and soft brushes to keep your nail beds clean. Choose high-pigment nail polishes with smooth brushes—brands that celebrities trust often have richer colors and longer wear. You’ll also need base and top coats: the base coat protects against staining and helps polish adhere, while the top coat seals in color and adds shine. Finally, gather dotting tools, striping brushes, and small sponge pieces if you plan to try gradient or detailed designs. Having these tools on hand makes it easier to achieve precise lines and smooth finishes just like the pros.
Master Nail Prep and Application
Proper preparation is the foundation of any great manicure. Begin by removing old polish with a non-acetone remover to avoid drying out your nails. Soak your hands in warm, soapy water for a few minutes to soften cuticles, then gently push them back with a cuticle pusher. Trim any excess skin and lightly buff your nail surface to remove ridges. Pat your hands dry and apply a thin layer of base coat. Let it dry fully before adding color. Apply polish in thin, even strokes: one down the center, then one on each side. Wait two minutes between coats to avoid smudging. Two coats of color usually give full coverage. Finish with a thick layer of top coat, sealing the edges of each nail to lock in your design.
Choosing Colors and Designs
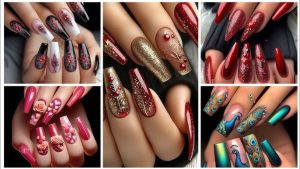
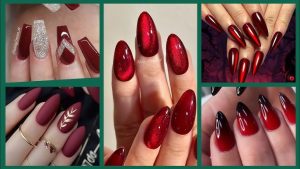
Celebrities often pick nail colors that complement their outfits and the season. For spring and summer, pastel shades and bright neons are popular. In fall and winter, deep burgundy, navy, and metallics make bold statements. If you want celebrity inspired nails, look to red carpet photos for ideas: matte black for edgy drama or nude tones for timeless elegance. When selecting designs, consider your skill level. Simple accents—like a single rhinestone near the cuticle or a thin metallic stripe—add glamour without complex techniques. If you’re feeling adventurous, experiment with stamped patterns, water marbling, or geometric shapes using striping tape. Keep a nail-art inspiration board on your phone to save looks you love and try to replicate them step by step.
Celebrity-Inspired Techniques
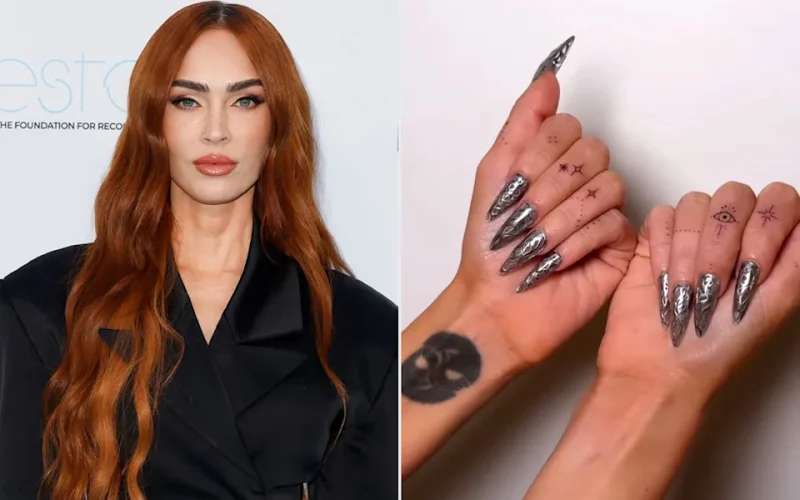
Professional nail artists use a few insider tricks to make designs pop. One is the gradient ombré effect: dab two polish shades onto a sponge, then press it gently onto the nail for a seamless color blend. Another is negative space design—leaving clear areas on the nail to create modern shapes or initials. For 3D embellishments, apply small rhinestones or studs with a drop of nail glue, then seal them under top coat. Gel polish, used by many celebrities, cures under a UV lamp and lasts longer without chips. If you don’t own a lamp, try long-wear hybrid polishes that claim up to 10 days of wear. Finally, to mimic high-gloss salon finishes, apply a quick-dry top coat with anti-smudge formula. These nail art tips will help your nails look red-carpet ready.
Maintaining and Protecting Your Nail Art
Your manicure can stay flawless longer with simple care. Always wear gloves when cleaning or doing dishes to protect nails from harsh chemicals. Apply cuticle oil daily to keep the skin around your nails nourished and prevent hangnails. If you notice a small chip, touch up the spot with matching polish and add top coat to blend it in. Avoid using nails as tools to pry or open packages—this prevents breakage. Every one to two weeks, remove old polish gently, let nails rest for a day, and then start a new design. A short break allows nails to breathe and prevents them from becoming brittle. With consistent care, your stunning nails will stay Instagram-worthy through busy weeks.
Conclusion
Creating celebrity inspired nails at home is easier than you think. By gathering the right tools, mastering prep and application, and choosing colors and designs that suit your style, you can achieve red-carpet results. Use insider techniques like ombré gradients, negative-space accents, and gel-like top coats to elevate your look. Remember to protect your manicure with gloves and cuticle oil, and fix chips promptly for long-lasting shine. With these nail art tips, you have everything you need to craft show-stopping nails that rival your favorite celebrities. Now grab your polish and tools, follow these expert steps, and get ready to flaunt the most stunning nails of your life!